Creating Custom Earrings: Step-by-Step Guide
Custom earrings are a fantastic way to express creativity, match your personal style, or create unique gifts. Whether you’re making earrings for yourself, friends, or starting a jewelry business, designing custom earrings allows for endless possibilities. This step-by-step guide will walk you through the materials, techniques, and creative ideas needed to craft stunning custom earrings at home. By learning the basics of earring-making, you can build your own unique collection of stylish, high-quality handmade earrings.
Creating Custom Earrings: Step-by-Step Guide
Materials Needed
Before you begin, gather the essential tools and materials:
- Jewelry wire (18-24 gauge) – Suitable for making loops, wire-wrapped designs, and connecting elements.
- Earring hooks (French hooks, studs, or clip-ons) – These determine how the earrings will hang and are available in various styles.
- Jump rings – Small rings used to attach charms or connect pieces.
- Beads, gemstones, or charms – Essential for adding color and personality to your earrings.
- Jewelry pliers (round-nose, flat-nose, and cutting pliers) – Essential tools for bending wire, attaching components, and cutting excess material.
- Wire cutters – For trimming wire to the desired length.
- Glue (for certain earring styles, such as stud backs) – Used for securing elements in place.
- Earring backings (for studs or posts) – Keeps earrings secure when worn.
- Ruler or measuring tape – Helps ensure symmetry and accurate sizing.
Choosing the Right Materials
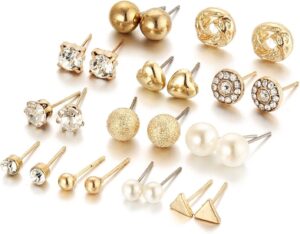
The choice of materials greatly affects durability and aesthetics. Here are key factors to consider:
Metals
- Gold-filled or gold-plated wire: Adds luxury and value to your earrings.
- Sterling silver: A durable and high-quality metal that resists tarnishing.
- Copper and brass: Great for a rustic, vintage look but may require polishing.
- Hypoallergenic stainless steel: Ideal for those with sensitive skin.
Beads and Gemstones
- Glass beads: Affordable and available in various colors and designs.
- Crystal beads: Add sparkle and sophistication.
- Natural gemstones: Provide a unique, earthy look with healing properties.
- Pearls: A timeless choice for elegant designs.
Alternative Materials
- Resin: Used for modern and artistic earrings with embedded flowers, glitter, or color swirls.
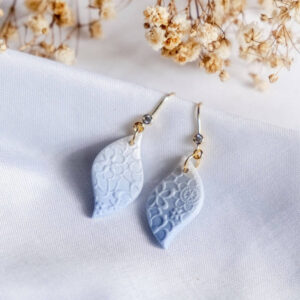
- Polymer clay: Versatile material for custom shapes and patterns.
- Wood: Lightweight and stylish, perfect for bohemian or rustic earrings.
- Fabric or leather: Ideal for statement earrings with texture and movement.
Types of Custom Earrings
- Beaded Drop Earrings – Simple yet elegant earrings featuring beads dangling from hooks.
- Wire-Wrapped Earrings – Artistic and intricate earrings made by wrapping wire around beads or gemstones.
- Hoop Earrings – Classic circular earrings that can be minimalist or heavily embellished.
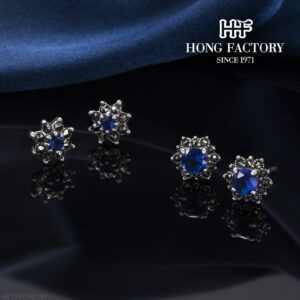
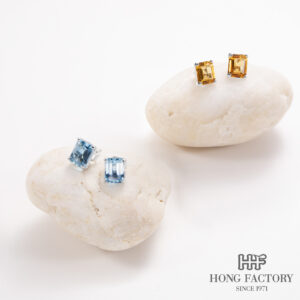
- Stud Earrings – Small and delicate earrings with a post backing.
- Dangle Earrings – Earrings that hang and move, often featuring multiple connected elements.
- Resin or Clay Earrings – Modern earrings created using resin molds or handcrafted polymer clay designs.
Step-by-Step Guide to Making Earrings
1. Beaded Drop Earrings
- Select beads and thread them onto headpins.
- Use round-nose pliers to create a loop at the top.
- Attach the loop to an earring hook using a jump ring.
- Secure the connection and ensure symmetry.
2. Wire-Wrapped Earrings
- Cut a length of wire and shape it around a bead.
- Create a loop at the top and twist excess wire.
- Attach to an earring hook using a jump ring.
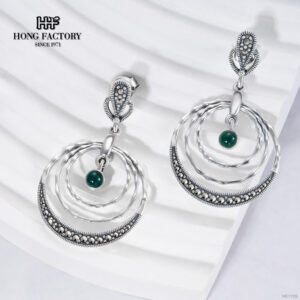
3. Hoop Earrings
- Use thick jewelry wire to form a hoop shape.
- Attach small beads or charms.
- Secure wire ends or use pre-made hoop findings.
4. Stud Earrings
- Use glue to attach stones or embellishments to earring posts.
- Allow to dry and attach earring backs.
5. Polymer Clay Earrings
- Roll out polymer clay and cut into desired shapes.
- Bake according to the clay manufacturer’s instructions.
- Sand edges and assemble pieces using jump rings and earring hooks.
6. Resin Earrings
- Mix resin and pour into molds.
- Add glitter, dried flowers, or colors.
- Cure and attach earring findings.
Tips for Creating Professional-Looking Earrings
- Use quality materials to prevent tarnishing and breakage.
- Ensure symmetry by measuring lengths and using matching beads.
- Practice wire-wrapping techniques for a clean and professional finish.
- Experiment with different materials to find your signature style.
- Invest in proper tools such as jewelry pliers for precision work.
- Secure jump rings tightly to prevent earrings from falling apart.
Advanced Earring-Making Techniques
- Multi-layered designs: Combine different elements for a unique statement piece.
- Hand-stamped metal charms: Personalize earrings with initials or messages.
- Enameled metal accents: Add color and intricate details.
- Wire filigree work: Create intricate, lace-like designs.
Selling Handmade Earrings
If you enjoy making earrings, turning your craft into a small business can be rewarding. Here’s how:
- Develop a signature style to make your brand recognizable.
- Use high-quality images to showcase your earrings online.
- Sell on platforms like Etsy, Instagram, or local craft fairs.
- Offer customization to attract more buyers.
- Price competitively by considering material costs and labor.
Caring for Handmade Earrings
- Store earrings in a dry place to prevent tarnishing.
- Polish metal components regularly.
- Avoid exposure to chemicals such as hairspray and perfume.
- Clean gemstones and beads gently with a soft cloth.
Creating custom earrings is an exciting and rewarding craft. With a variety of materials and techniques, you can make stunning pieces that reflect your unique style. Whether for personal wear or as a business venture, custom earrings allow for limitless creativity. By following these steps and experimenting with different designs, you’ll quickly develop the skills needed to make professional-quality earrings.
